Sunday, February 19, 2017

Vintage 1920's Doll Restoration! - Part 3 - Resculpting and Joint Repair

Welcome back!
This is the third chapter in the story of the restoration of this vintage doll.

Having cleaned the doll and prepared the body for repairs, the next step was to replace the missing parts and repair the broken ones.


As you can see, her left hand was mising three fingers and her left foot had lost the big toe.


In addition, the top edge of one of the knee joints, and the one that we glued in the last chapter, had some rough edges.


I used Apoxie Sculpt, which is my favorite sculpting medium, to fill up the cracks and sculpt new fingers and toes.  Apoxie Sculpt comes in two parts (like epoxy glue) and you have to mix equal portions of the two parts in order to activate it.  It gives you up to 3 hours of working time before it gets dry, but I didn't need that much time.


As you can see, Apoxie is good for all sorts of things.


Her new fingers.


Honestly, I could have ignored the missing toe, but adding a new toe will allow me to fit her for shoes later on.


Next was the biggest repair:  the missing hip joint.  This ended up being the most troublesome step of the restoration process.  It took a lot of brainstorming before I could figure out how to do it.


Here you can see how badly damaged the right hip socket was. Wear and tear had completely ripped out the hole and the compo and paint were badly crushed, cracked, and worn.


The first order of business was to resculpt the damaged socket with apoxie.


Next was the missing ball joint on the right leg.  I got some wooden balls (used for heads when making wooden puppet dolls)...


...sawed one in half and sanded the two halves down...


...and used hot glue to affix the two wooden pieces on either side of the thigh section, with the string in between.  These two pieces of wood would form the main structure for the new ball joint.


Here's what it looked like - you can see the imprints from the vise I used while sawing the wood.


Next, I used more Apoxie to fill in the space between the wood pieces on front and back, and extend the front to create an egg shape like the joint on the other leg.

<-- Front view


 <-- Side view


<--Back view


However, as you can see, after all the base sculpting had been done, the ball joint was too large to fit into the repaired socket.


I used a Dremel rotary tool to grind down both the inside of the socket and the outside of the joint, shaping both so that they fit together better.


While I was at it, I also shaped the stringing slit so that the new hip would have a greater range of motion.
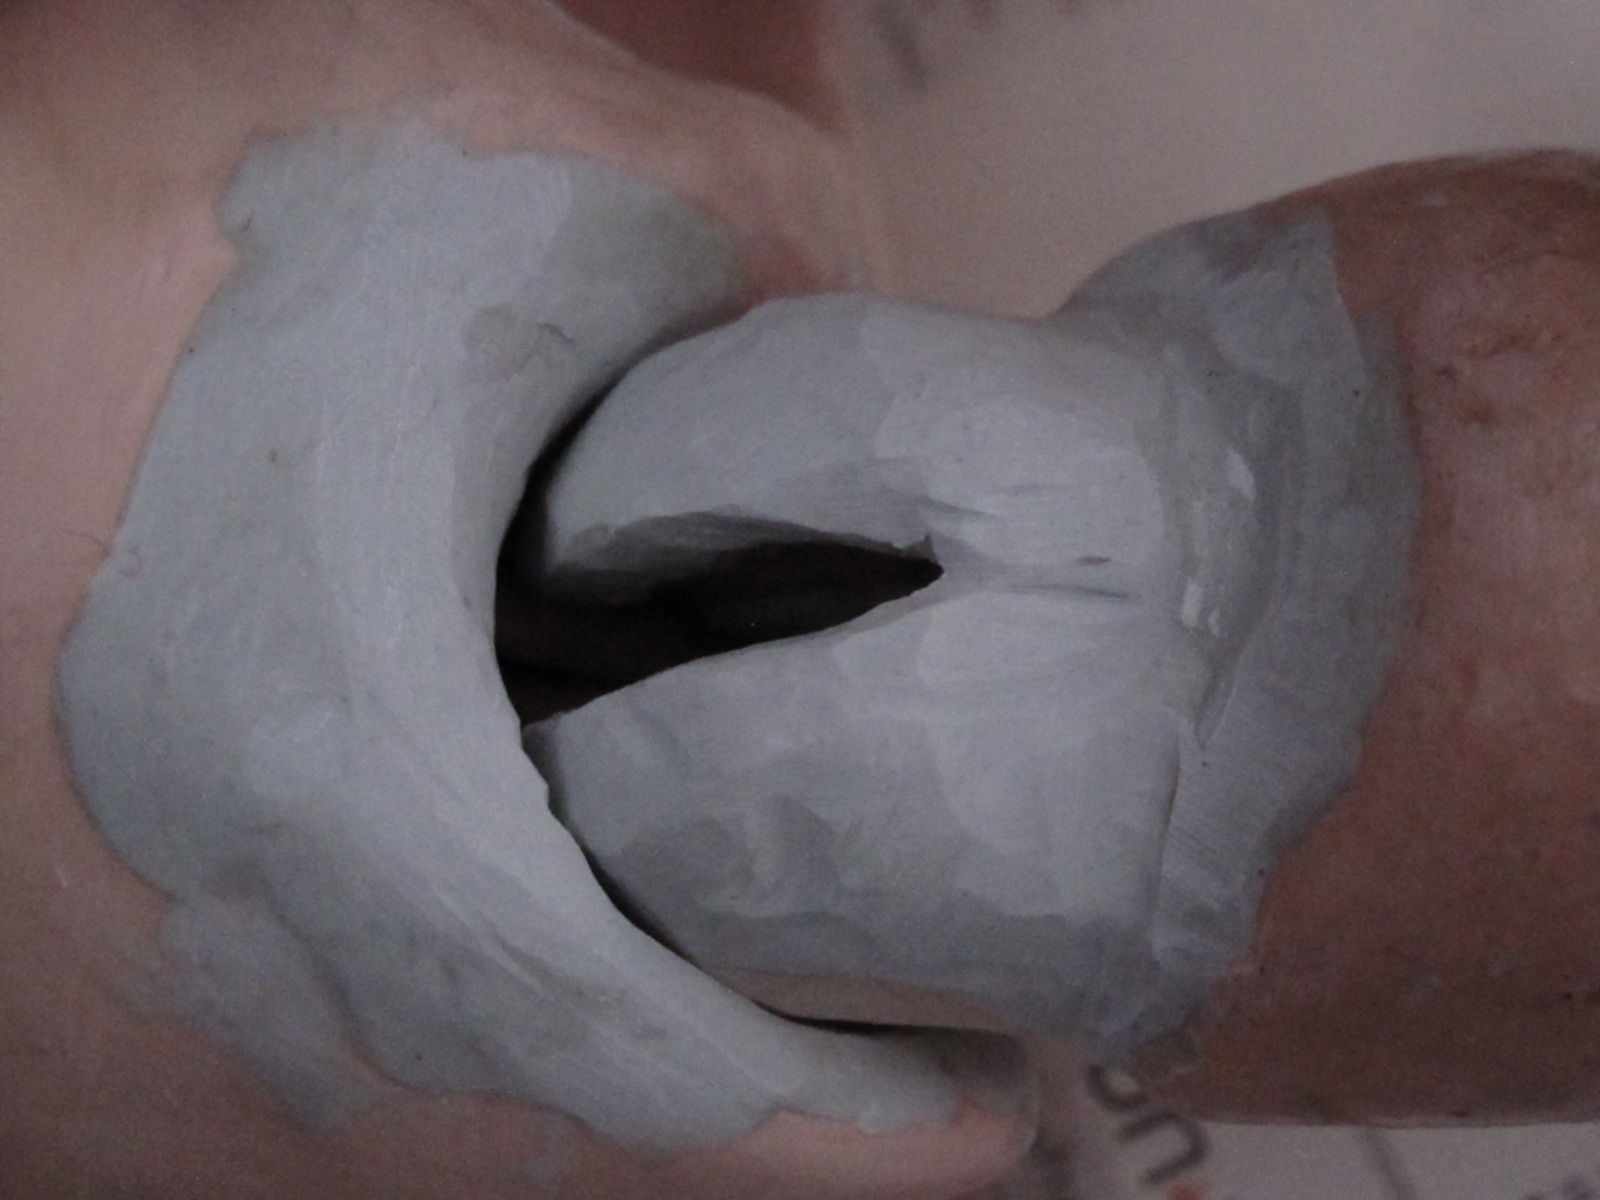


Here you can see how well the components of the new joint interface.


After the shaping was finished, I sanded the socket and joint to get rid of the rough texture left by the Dremel.


And here it is! The brand-new hip joint!

With all the body repair finished, the next step was to repaint the body.
Stay tuned for my next update!

Sunday, January 22, 2017

Vintage 1920's Doll Restoration! - Part 2 - Cleaning and Body Prep

Welcome back!
This is the next step in the restoration process for the vintage doll.

After assessing the damage, the next step was to remove the old wig, clean the doll, and fix some minor breaks.


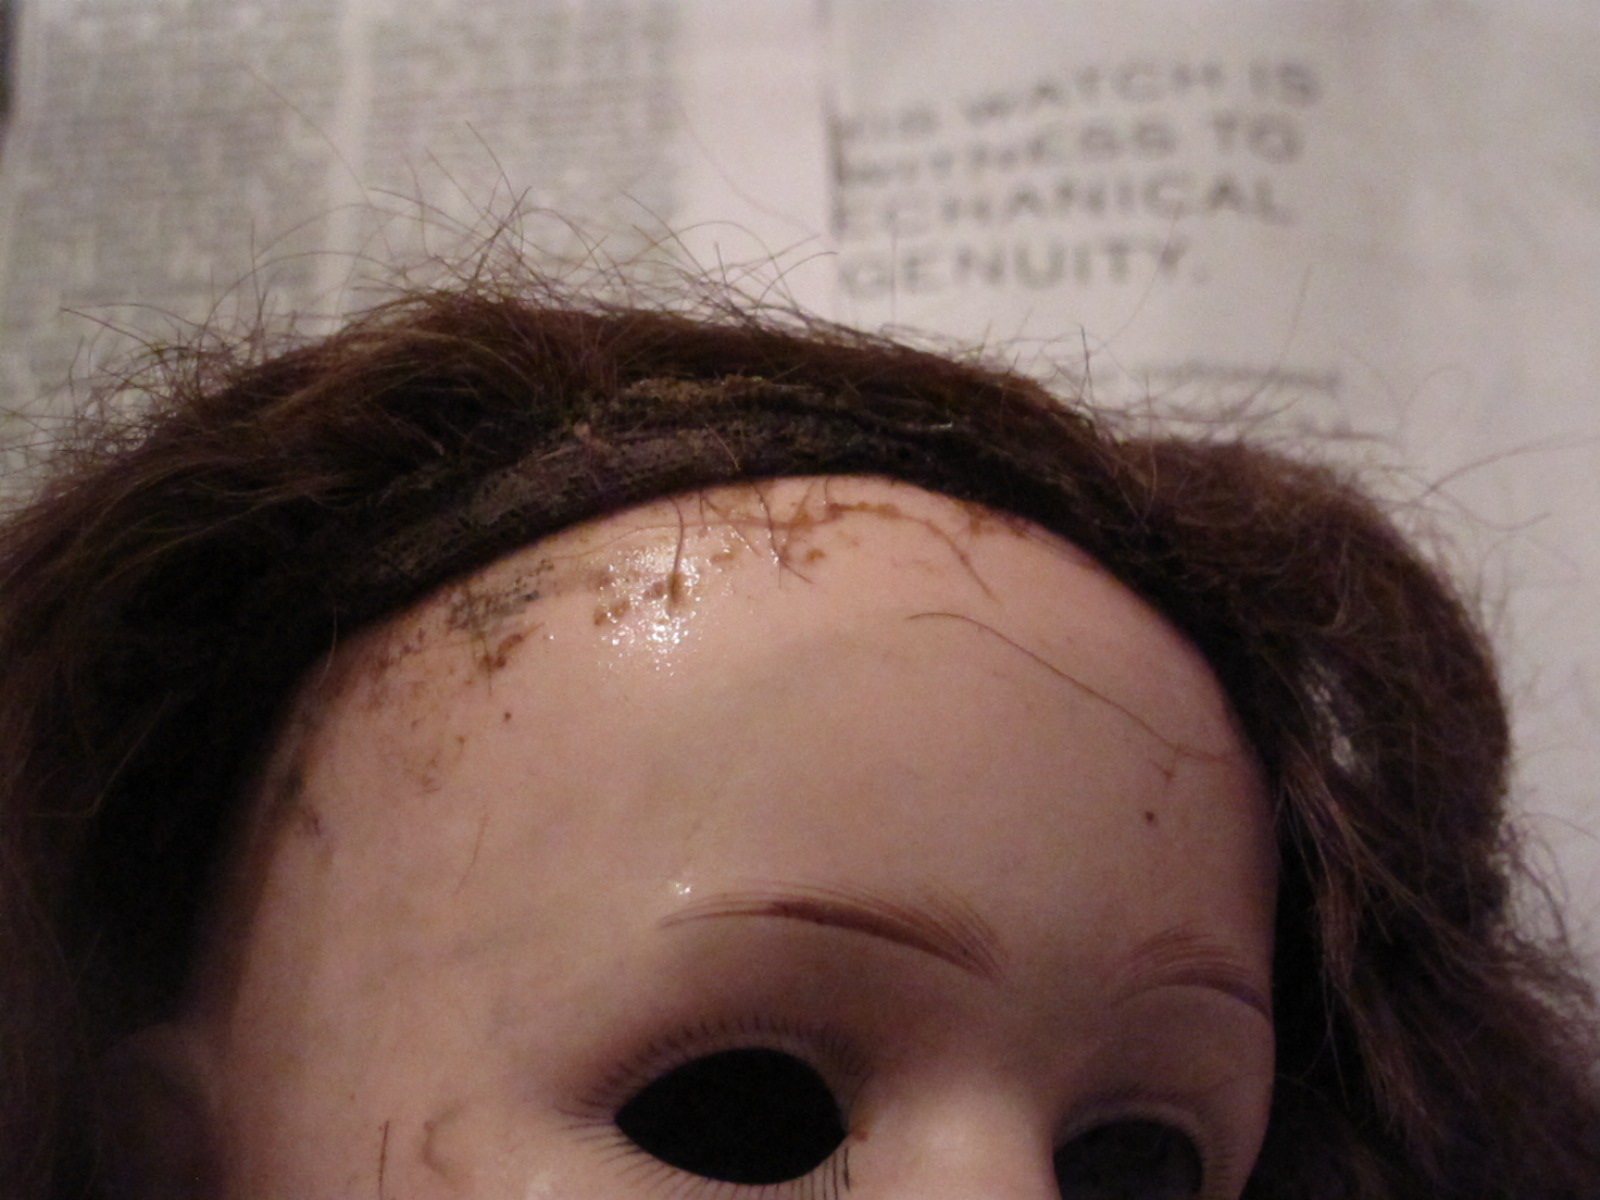
Here you can see the condition of the wig.  It was made from real human hair sewn in bunches onto a muslin cap, which had then been glued firmly onto the doll's head.

The hair was coming unsewn in large pieces.  However, it was also so dry that it was breaking off in fragments about half an inch long.


In order to get the wig off, I moistened the glue around the edge of the wig and began levering it off with a metal cuticle pusher.  It took some effort to get it unstuck, but once the edges were finished, the whole thing came off pretty easily.


Under the wig was the cardboard pate.  Once I'd gotten the pate off, i discovered the weighted eye mechanism inside her head, as well as the wooden neck joint.


 Here's the view inside her head; you can see the eye and mouth openings and the places where the eye mechanism made contact with the head.


 Of course, her head was very dirty, as it was covered in dirt and pieces of glue and hair.


I washed it with a wet cloth and castile hand soap.  For the tougher stains, I scrubbed gently with baking soda.


The head cleaned up remarkably well.


 The body, as mentioned before, was fairly intact.  Since she is a composition doll, cleaning with water was out of the question.  I used some spray-on furniture wax to clean and buff the doll.


I used acid-free PVA glue (the kind used to repair books) to repair the leg which had detatched from its knee joint.


 I allowed the glue to fill in the cracks, since it would help smooth the surface for later.

This concluded the head and body prep.  The next step was to resculpt the broken parts and replace the missing hip joint.


.


Vintage 1920's Doll Restoration! - Part 1 - The Starting Place

Hello everybody!

I have the beginning of a very exciting doll story for you all today.  😃

Recently, my great-aunt was cleaning out her house in preparation for a move, and she came across an old doll in a box.  Apparently, this doll had belonged to her mother, and had been languishing in the box for around 70 years.

Having heard about my doll hobby, she kindly sent the doll to me.

When she arrived, it became obvious that the poor dolly was in dire need of restoration.
She was a lovely old composition doll, with some wooden parts and a bisque head with a real human hair wig.


 Her head had been detatched, and her stringing was all loose.


The left lower leg had been detatched from its knee joint.


The right hip socket was badly crushed in, and the entire corresponding ball joint on the upper leg had broken off and was missing.


Her arms were made of wood, not composition, so they had fared much better than the legs.


However, the hands were composition, and the right hand was missing four fingers and the thumb.


 Her neck socket and shoulders were in good condition.


Her torso had some rubs and surface crazing, but no serious crushing or cracking.


Here's her head.  I had to wrap her wig because it was falling apart and crumbling everywhere.  It was beyond repair and would have to be replaced.

Her sleeping-eye mechanism had completely broken out, but the mechanism and the glass eyes were still inside her head.  The eyes fell out the bottom when I unpacked her, while the mechanism remained trapped inside.  Both the brown glass eyes were in remarkably good condition - the stem on one was broken, of course, but only near the end.  The eye mechanism, with its weight, was intact as well.

Amazingly, the bisque head had not cracked at all and almost all of the original paint remained.  There was some minor scratching and wear on the cheeks and nose, but nothing serious.  Even her little teeth were still in place.

Here you can see what was visible of her marking before the wig came off.  From this marking, and with my aunt's help, I found out that this doll was made by the German doll company Heubach Köppelsdorf, around 1920.  Her model number is 250⋅4, one of the most popular of Köppelsdorf's dolls.


The next step is to remove the crumbling wig, clean the doll (since she was very dirty) and resculpt the broken parts.
Stay tuned for the next update!