This is the next step in the restoration process for the vintage doll.
After assessing the damage, the next step was to remove the old wig, clean the doll, and fix some minor breaks.


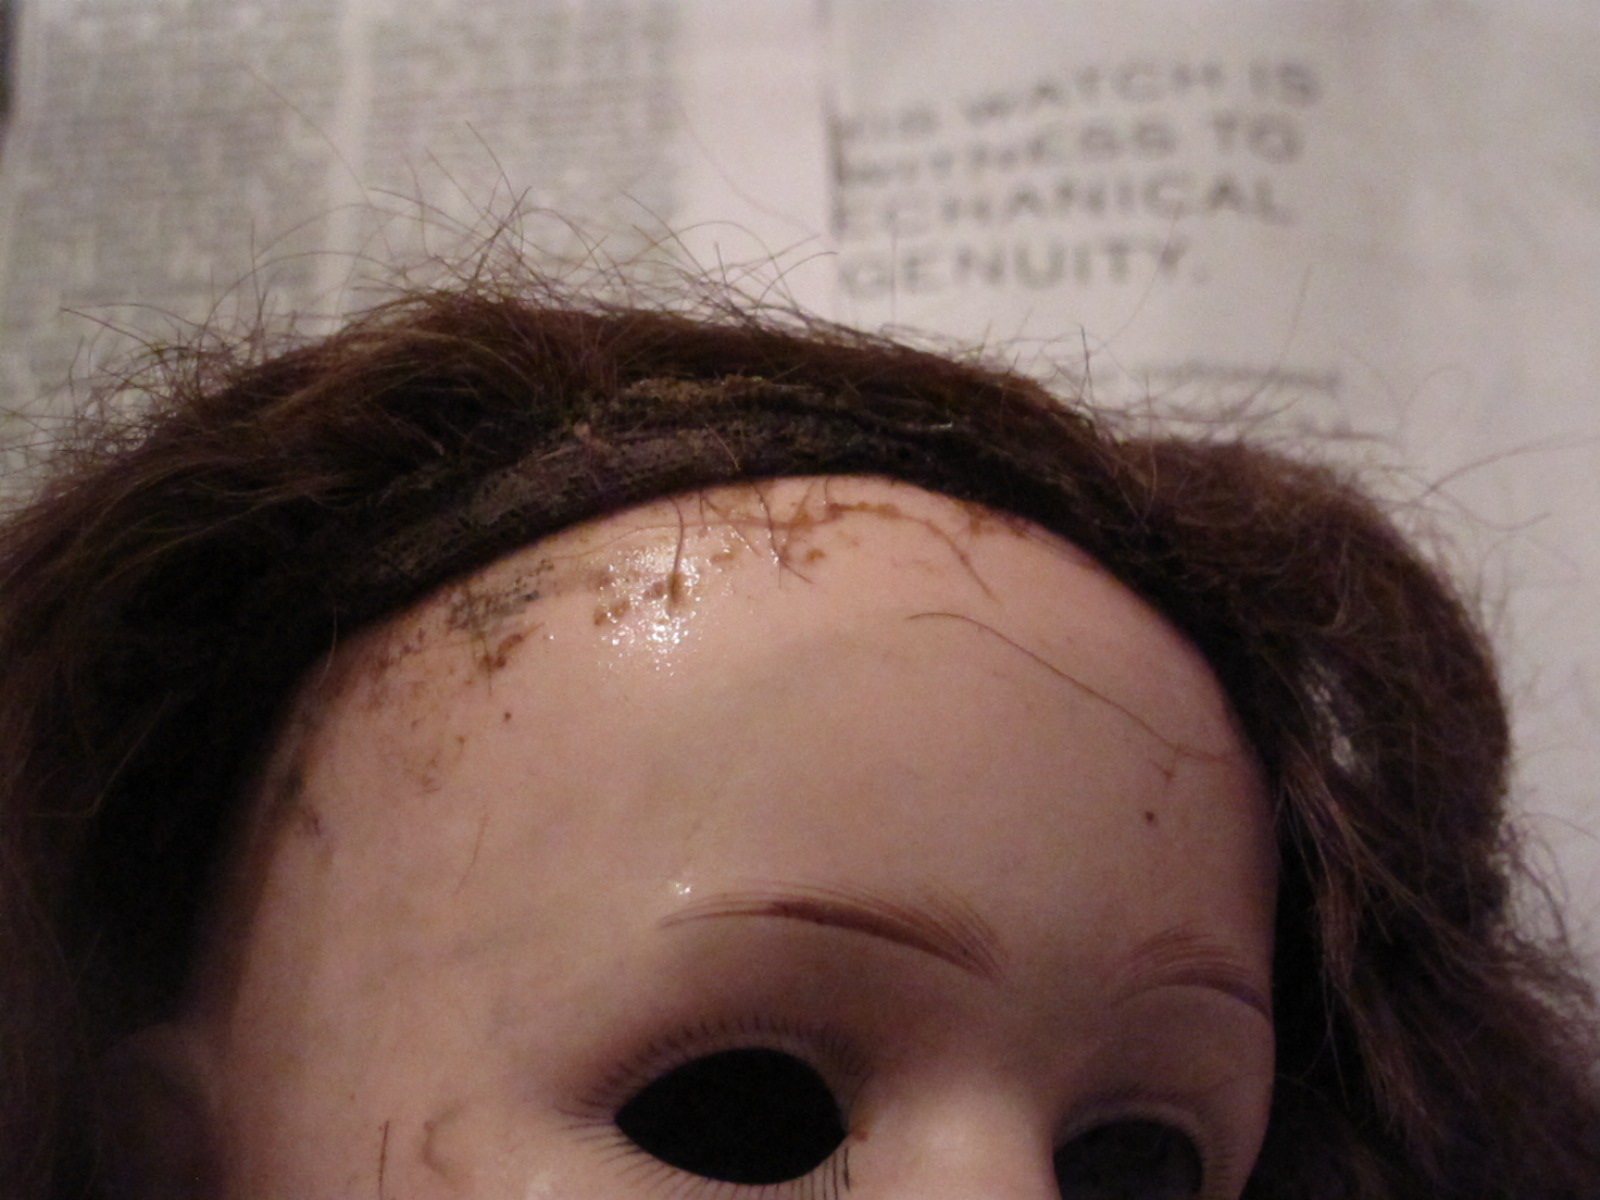
Here you can see the condition of the wig. It was made from real human hair sewn in bunches onto a muslin cap, which had then been glued firmly onto the doll's head.
The hair was coming unsewn in large pieces. However, it was also so dry that it was breaking off in fragments about half an inch long.
In order to get the wig off, I moistened the glue around the edge of the wig and began levering it off with a metal cuticle pusher. It took some effort to get it unstuck, but once the edges were finished, the whole thing came off pretty easily.


Here's the view inside her head; you can see the eye and mouth openings and the places where the eye mechanism made contact with the head.
Of course, her head was very dirty, as it was covered in dirt and pieces of glue and hair.
 I washed it with a wet cloth and castile hand soap. For the tougher stains, I scrubbed gently with baking soda.
 The head cleaned up remarkably well.


 The body, as mentioned before, was fairly intact. Since she is a composition doll, cleaning with water was out of the question. I used some spray-on furniture wax to clean and buff the doll.

I used acid-free PVA glue (the kind used to repair books) to repair the leg which had detatched from its knee joint.


I allowed the glue to fill in the cracks, since it would help smooth the surface for later.
.
Hi! This is fascinating! I had no idea that so much prep was needed. Can't wait to see the next installment! NT
ReplyDelete