Recently, Nana mailed me a box of goodies from her sewing room, and among these things was Lucy!
I was very pleased to see her again, but Lucy was looking a little bedraggled.
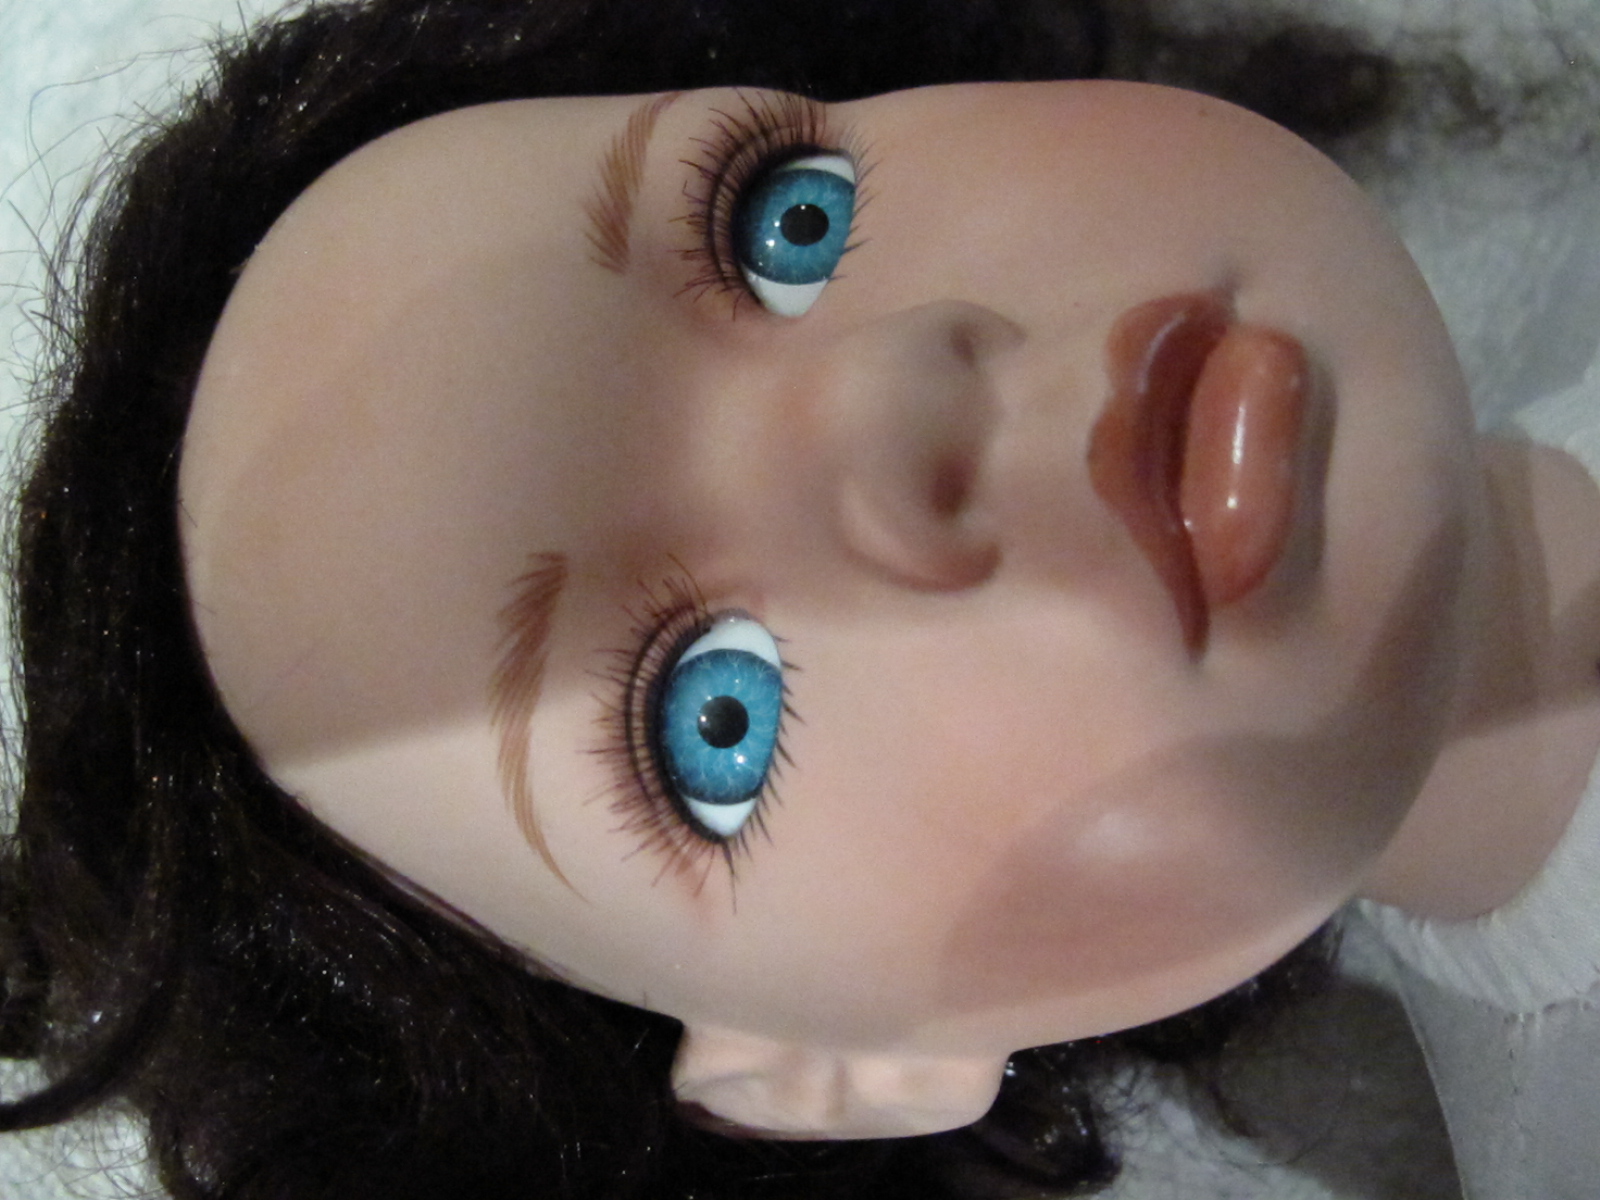
 Her hair was a matted, tangled mess, and her hair ribbons straggled down her back. There were stray black marks on her cheek, and her lace stockings were badly torn. Worst of all, there was a huge crack in her left leg, which looked as if it had been patched with sticky bits of fabric.
Lucy needed help!


First of all, I got her undressed - quite a feat, given her stiffness.
Lucy has a cloth body with a wire armature, and her head, lower legs, and lower arms are made of porcelain. The lace stockings had been glued to the fabric of her upper legs, but the left stocking had been torn off to patch the broken leg.
Her hair is wigged, not rooted, and the wig was coming unglued in the back.
Along with her dress, she'd been wearing a pair of pantaloons, a stiff petticoat, and a pair of shoes with the trim coming off.

I turned my attention to the broken leg first.
It had been glued. Then, what looked like cut-up bits of sticky bandage had been stuck over the crack (weird). On top of that, strips of muslin were stuck to the gummy bandages.
First, I peeled off the muslin and bandages.

Then, I went over the crack with soapy water and alchohol. However, there was still a ton of residue left over.

Goo-Gone and a scraper did the trick.


Next, I custom-mixed some acrylic paint to match Lucy's porcelain, and did a cosmetic job on it. This rendered the crack almost invisible.

Moving on, I cleaned the black marks from Lucy's face with warm water...

...and steeled myself for tackling her formidable hair tangle.


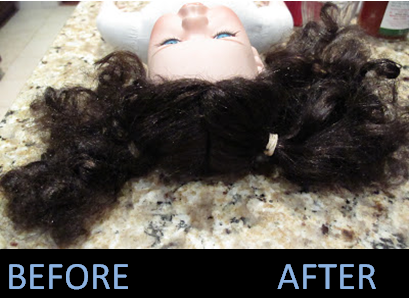
I took the task one pigtail at a time, cutting out the old rubber bands and soaking her hair in warm water. Then, with a comb, scissors, conditioner, detangling spray, and patience, I picked the tangles out of her hair. The first pigtail took two and a half hours.


BEFORE
AFTER
For some reason, the other pigtail was in much better condition, and only took about forty-five minutes to comb out.
However, while the hair was mostly detangled, it had lost its shape. I had vague memories of Lucy's hair before the damage took place, and it had not just been a mass of curls. It had hung in fat ringlets. Lucy's stiff nylon hair had retained its curl throughout the difficult process, but the strands had become misaligned, obscuring the original shape of the hair.
I returned to combing, and after some trial and error found a way to restore the shape of the ringlets (the exact technique will be covered in the next post.)

This technique allowed me to go from this....

...To this. A marked improvement!
One ringlet at a time, I repeated the process on both sides of her head. Since I'd combed out the tangles and trimmed the frayed, knotted ends first, the process was relatively easy.
After some deliberation, I decided to leave her hair down, instead of putting it back up in the pigtails. That way, I could avoid kinking and tangling. Besides, it just looked better.
In the end, Lucy's hair took about five hours to restore. However, I'm quite pleased with the result.

Here's the turnaround.

This side was in the worst condition.

The ringlets in the back came together particularly well.

This side was in better condition for some reason - it could have had something to do with the way she was packaged.
 I saw no reason to undress Sophie, but her hair was looking a wee bit squirrely. I took her pigtails out, brushed her hair, and put the pigtails back in.
Here she is.
Finally, I had some other bits of restoration work to do on Lucy's body and clothing.


I reglued her wig in the back...


Reglued the trim on her shoes....


Glued her ripped stocking...


...and stitched up all the holes with a needle and matching thread.

That left just one thing to do. In the back, Lucy's dress was closed with Velcro, which spells death for delicate, easily-snagged doll hair. To finish the process, I replaced the Velcro....

...with snag-free metal snaps.
Restoration complete, Lucy was dressed and reunited with her little friend Sophie!
She is looking great and now has her own spot on the doll shelf.


For full instructions on restoring matted ringlets, keep your eyes peeled for my next post!
