Hi Magicians!
Today, I have a very exciting project to show you. Like the flower fairy, I actually did this a while ago, but it took a while to get everything written up.
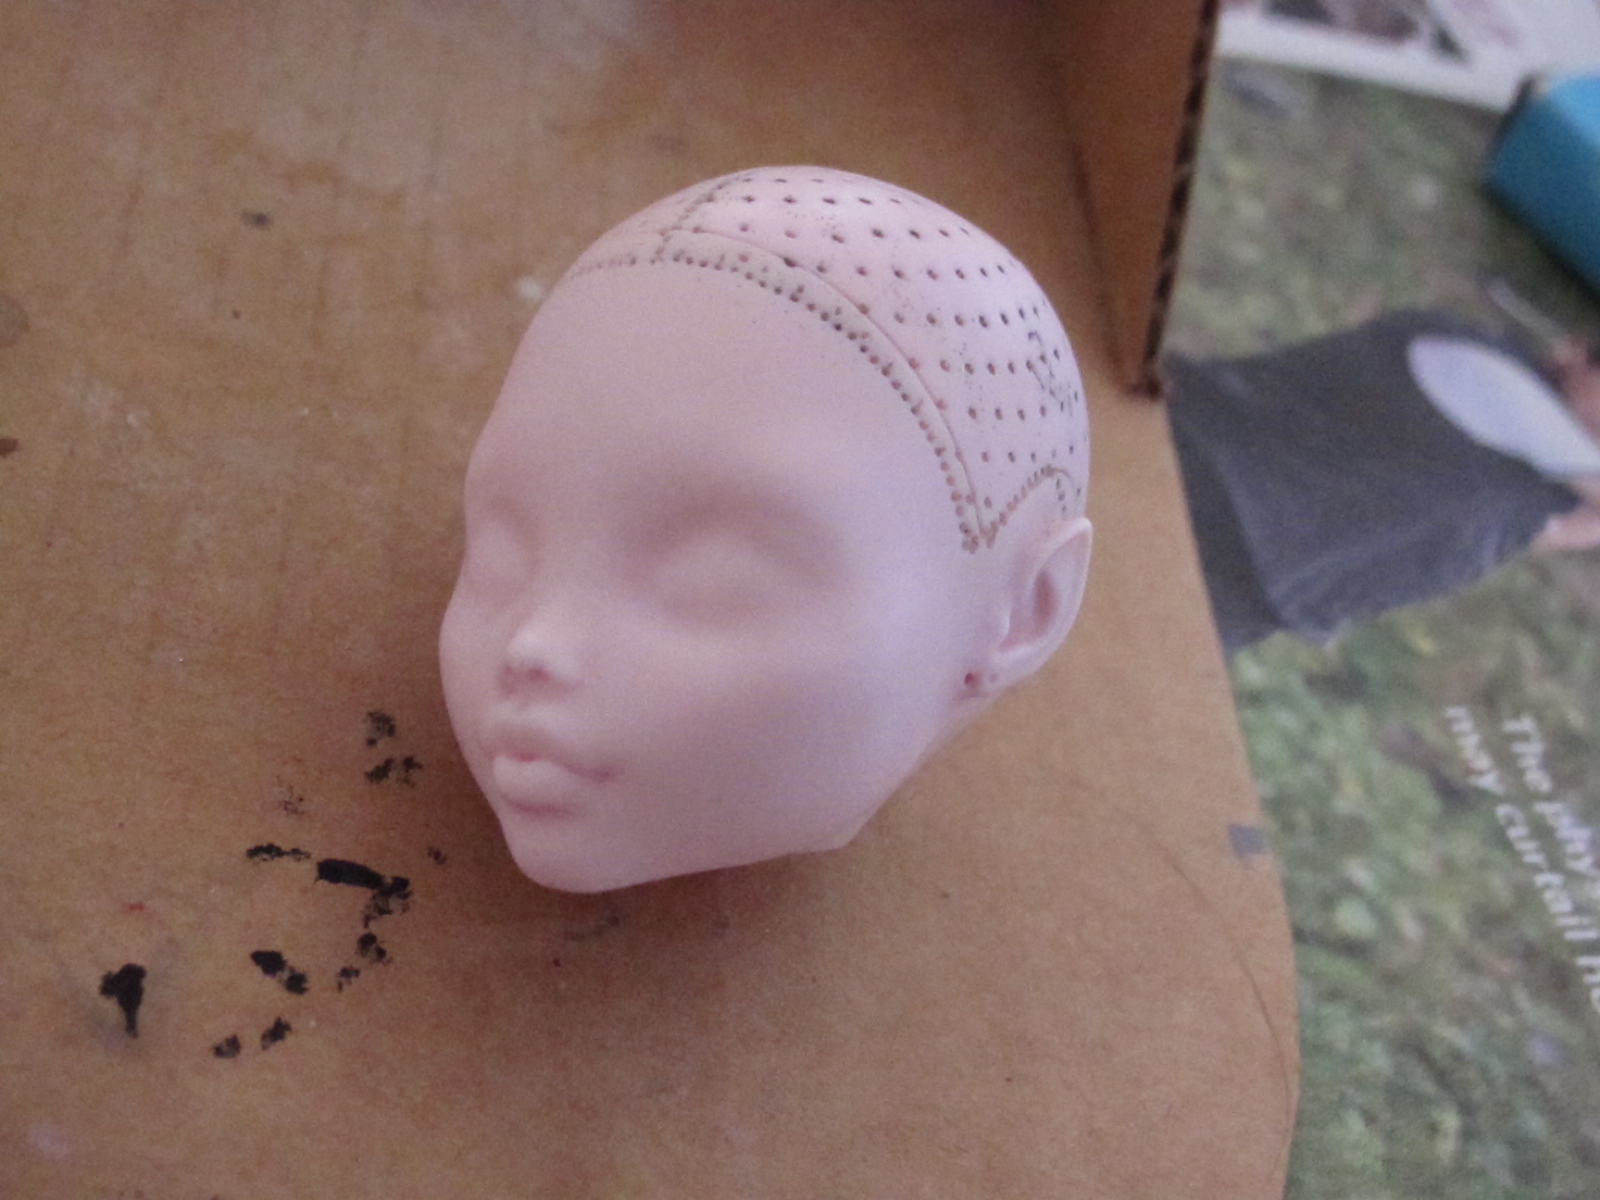
 I started this project with my first MH Lagoona doll. She's one of my favorite characters, and I love the wide eyes and fishy features of her face mold. I got her in a batch of used dolls off of Ebay. She was in very bad condition - some of her body parts were missing and had been replaced with parts from other dolls, her leg fins had broken off, and her hair was patchy and sticky.
 The first step was, of course, to wash her. Soap took off all the dirt, but couldn't get the stickiness out of her hair. I tried a bunch of different methods - alcohol, Goo Gone, boiling water - but nothing worked.
Here you can see the replaced parts. Her right forearm was from an MH Abbey Bominable doll, and her right hand was from an EAH Cedar Wood. The colors and textures were way different from the rest of her body.


 I started by gluing the longer feathers at the back, making sure that they all curved inwards.
 Then, I kept going around the wig, using shorter and smaller feathers as I made the layers. At the top and front, I used feathers with light-brown highlights, to add some interest.
 I was super happy with how it turned out. The hardest part was keeping the stiff quills from popping up at the top of the wig. I had to use lots of glue and heavy pressure to keep the ends flat.
 Lagoona got a haircut, and I popped off her head to get the plugs out from the inside before I put it back on. At this point, I had decided to change her theme from "fish" to "bird." The feather wig, combined with her big eyes and delicate features, seemed to suggest the shift.
 I popped off both her finned left arm and her patchwork right arm.
 Then, I cut off the fins on her left forearm and between the fingers on the left hand, and sanded down all four of the arm parts. This smoothed out the glitter texture on the right forearm and the woodgrain texture on the right hand. Finally, I mixed up some acrylic paint to match her body and repainted everything before sealing it with Mister Super Clear matte sealer.
 With her new arms, she looked much better!
 After coating her face with MSC, I did the first few layers of pastels. I've been trying out a few different brands. These are Faber-Castell soft pastels. So far, they're my favorites.
 Next, I start to block out the face shapes with acrylic paint. I drew inspiration from the colors that I see on the birds in my yard (sparrows, cardinals, and the occasional falcon).
 I finished the details with more paint and fine brush. I really like how her eyes turned out! I struggled getting them to match, but I think the red and yellow mixed well in the end.
 But she wasn't finished yet! I made a coat for her (pattern: chellywood.com's Pirate Tunic), along with a little leather vest (my own pattern), blue half-leggings with feathered hems, (my own pattern), and a red sash for a little color.

For a little extra cute detail, I attached a mini birdcage (found in the jewelry novelty section of a local craft store) to a matching loop of chain and filled it with little charms, beads, and a ribbon rose.


I struggled with her face, and it's still far from perfect. But, I'm going to count it as a success, since I learned a lot and improved my techniques while I was working on her. I still have a ways to go before I can say that my skills are top-notch, but I think I'm making progress!
Tell me what you think about Sky Girl (and share any other thoughts) in the comment section, or email me at modelhorsemagic@gmail.com.
Recently, I created a new account on Instagram! Follow me: @miniature.magic
Have a great day, and stay tuned for my next update! Bye Magicians!